Stellarium Customised Landscape
Customising the landscape in Stellariun for one showing my own back garden has been a real game changer; it makes it so much easier to plan an imaging session. It takes a bit of time to tweak and get right, possibly a few hours but well worth it!
To create a custom landscape you will need:
- Stellarium
- A camera or smartphone
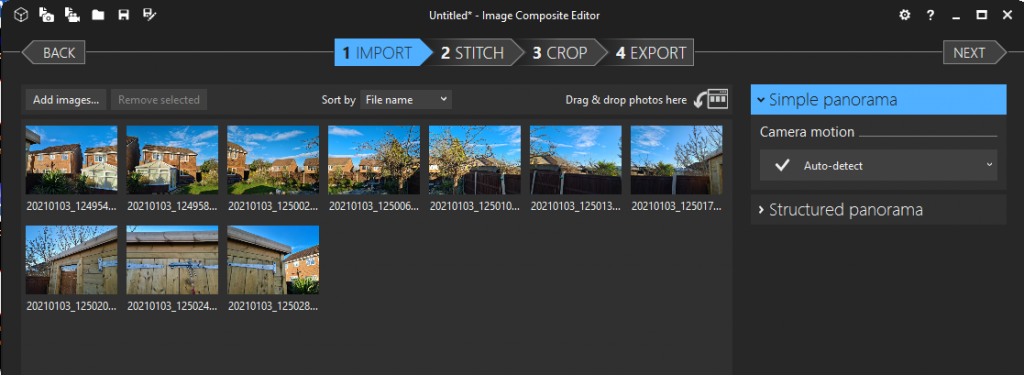
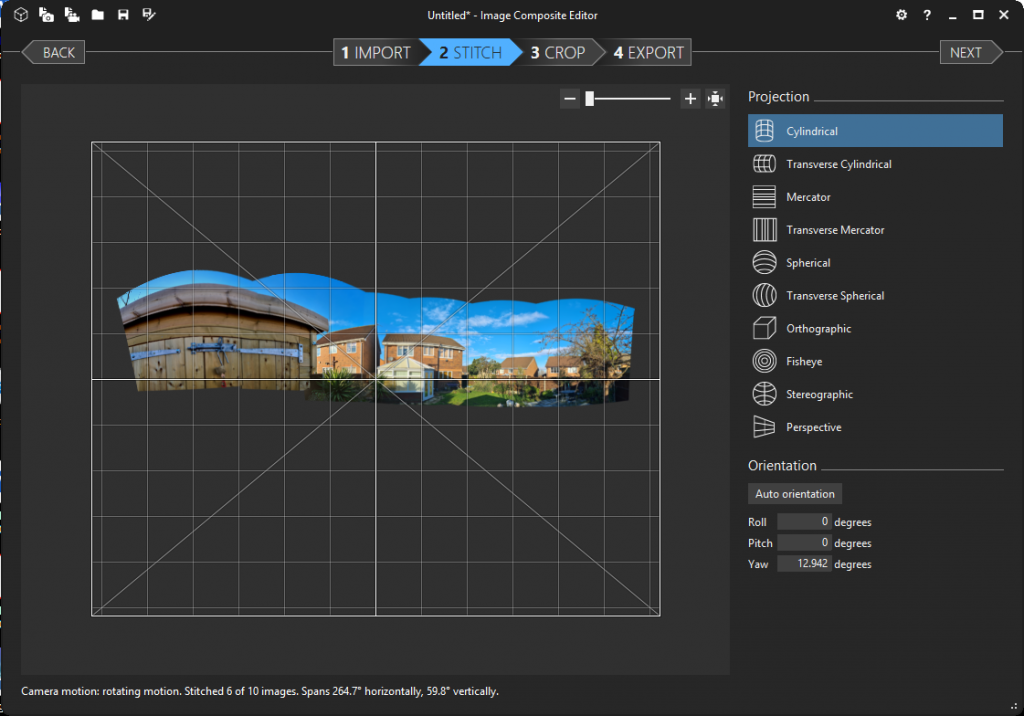
- Mosaic-stitching software (I used Microsoft ICE)
- Image editing software (I used Photoshop)
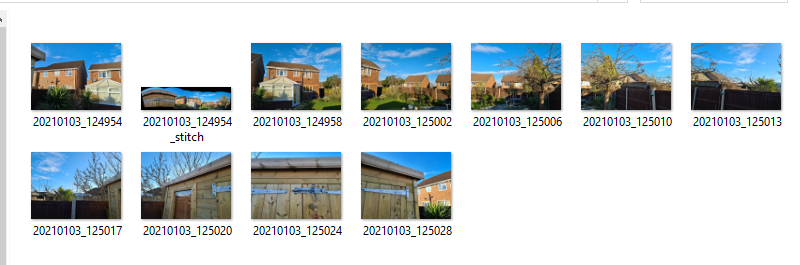
- Using your phone or camera, take a set of overlapping images of your new landscape (back garden) from the position of your telescope. Make sure you have a good overlap – save them in a folder.
- Use an image mosaic software such as Microsoft Image Composite Editor (ICE) to stitch the images together to create a flat panorama, and save it.
- Use Photoshop or another image editing software to create an image 2,044px by 1,276px with a transparent background – then paste your new stitched image onto it as a new layer.
- Use the eraser tool to delete the area above the horizon (leaving in houses, trees etc.) this area will become transparent and show the stars and night sky.
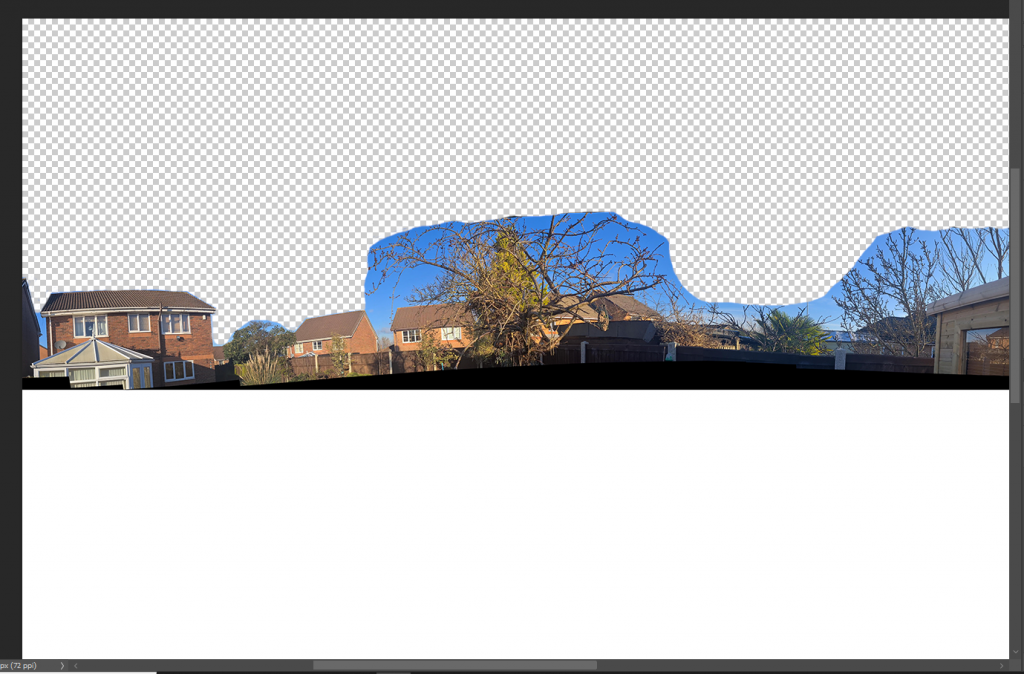
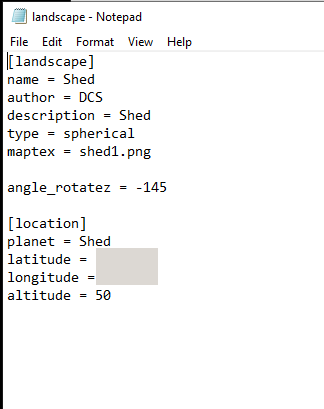
- Save the image as a PNG file (mine is shed.png). This will be the new ‘maptex’ file mentioned in the landscape.ini file.
- Make a copy of one of the landscape folders (including its contents) in Stellarium and rename it to reflect your new landscape; I have 2, “Shed” and “Patio”
- Using Notepad, open the landscape.ini file (and change the fields to match your location and new stitched image (shed1.png for example), coordinates and altitude.
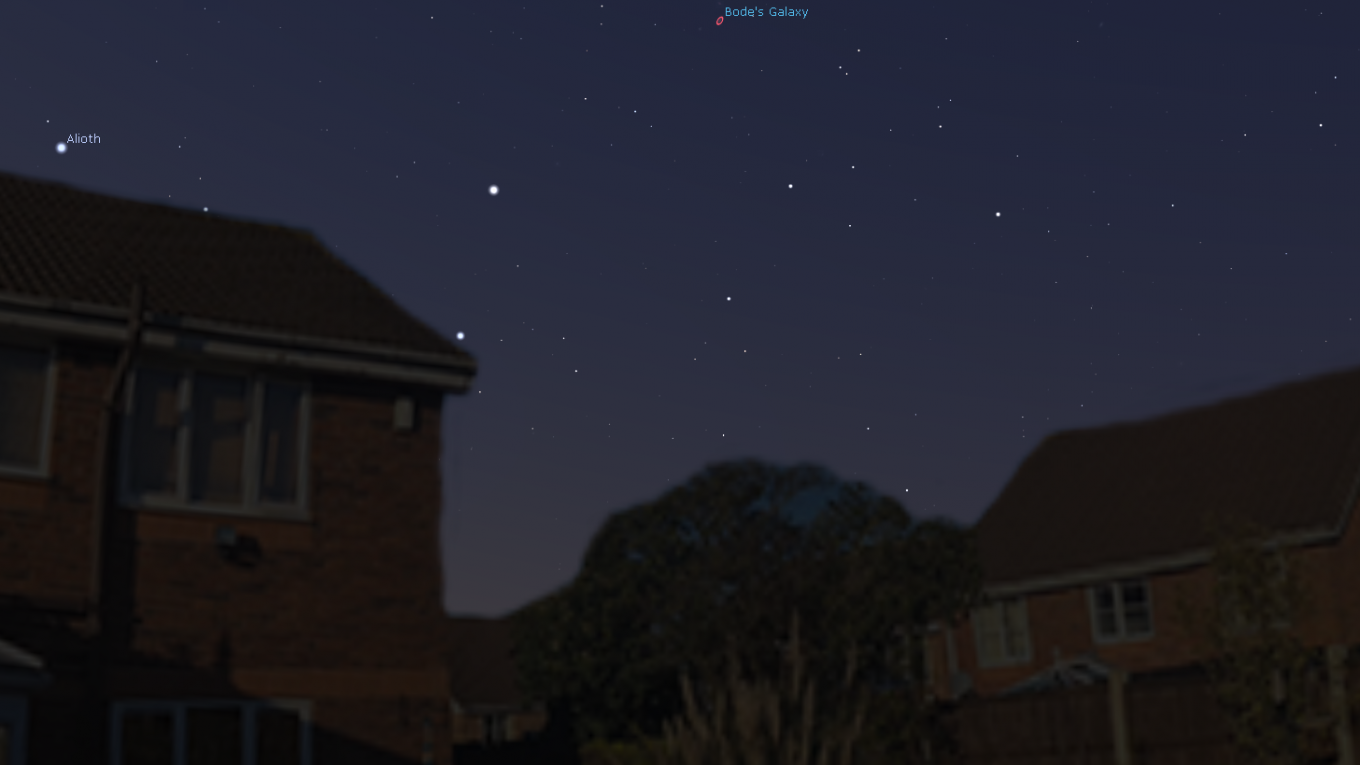
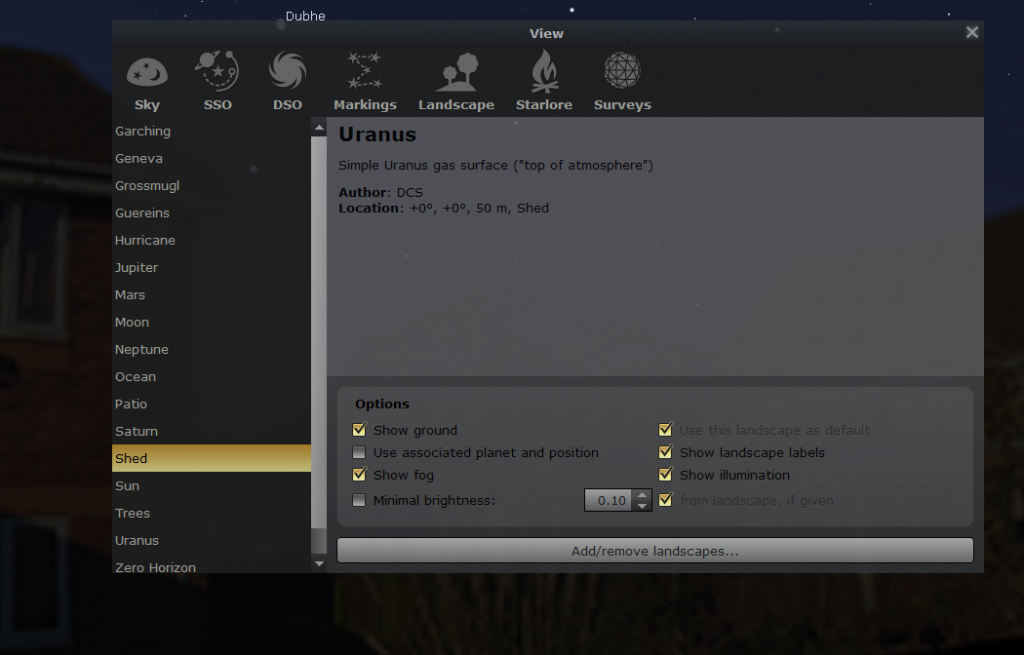
- Open up Stellarium and your new landscape should be accessible by pressing F4 (Sky and Viewing Options menu) > Landscape’.
If the image of your new horizon is too high or low, you may need to go back and adjust the landscape’s vertical position in the PNG image –
If the image needs rotating to get North aligned, adjust the “Angle_rotatez” field in the landscape.ini file
I had to fiddle with both hight (by adjusting the actual image) and rotational direction (by adjusting the “Angle_rotatez” field in the landscape.ini file) to get North in the right place)
Oculars Settings
To make things even easier, input your telescope/camera specs into the Oculars Settings and you can see what image you will get with your camera/telescope combination.
Put your camera details in the “Sensor” tab and Telescope/lens details in the “Telescope” tab.
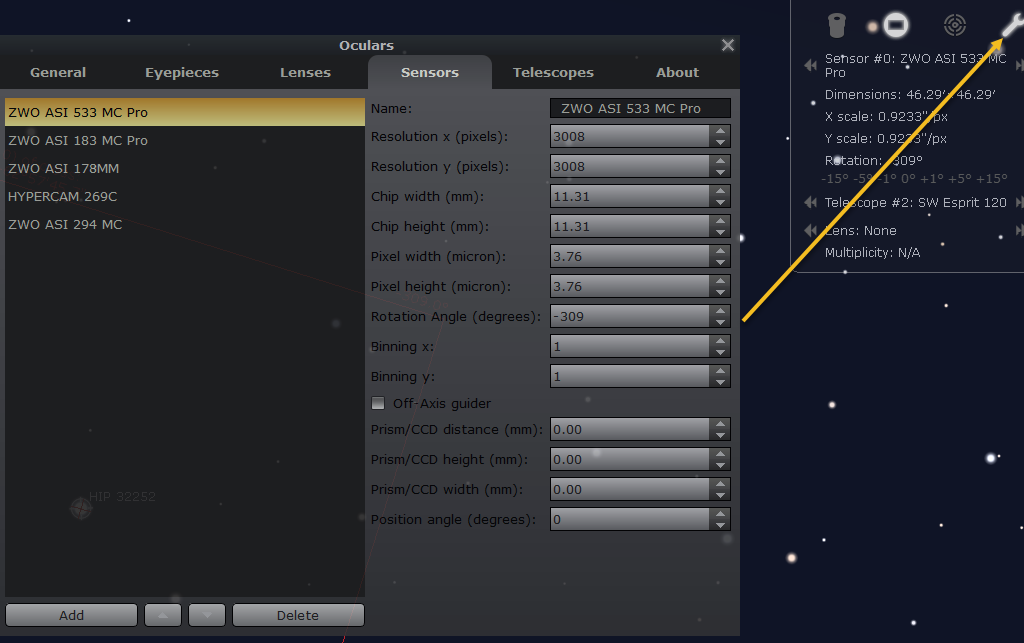
You can access these settings by clicking on the spanner icon in the top right of the screen.
To get the view from your inputted settings, click on the white circle with the rectangle in it (Image Sensor Frame) in the same top right menu.